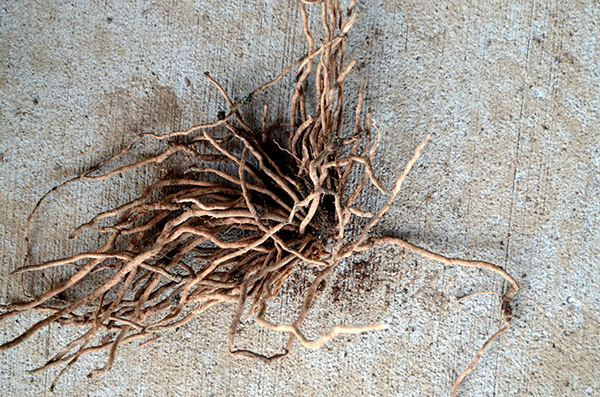
Asparagus crown
Asparagus is an adaptable, hardy vegetable that is also a rare perennial vegetable – meaning it will come back year after year to produce a harvest. It does best in climates with either cold winters or dry summers. That includes most areas of the country, so it’s likely you can grow this delicious vegetable on your homestead. Plant it in a spot with excellent drainage that receives full sun for at least six hours a day, although it can tolerate some light shade as well.
You can begin growing asparagus by two methods: from seed or from crowns. Asparagus seeds are slow to germinate and, once transplanted into your garden, will take about three years to produce a crop you can harvest. Planting crowns means you are putting a network of asparagus roots right into the soil. After two years of growing, you can harvest the crop they produce.
I have never grown asparagus on my homestead before, but I have very fond memories of them on our urban farm from my childhood and on the Urban Farm I used to work at. Planting asparagus is like planting a fruit tree – you have to be confident you’ll still be living on that homestead in 2-3 years when you get your first harvest.
Selecting Varieties
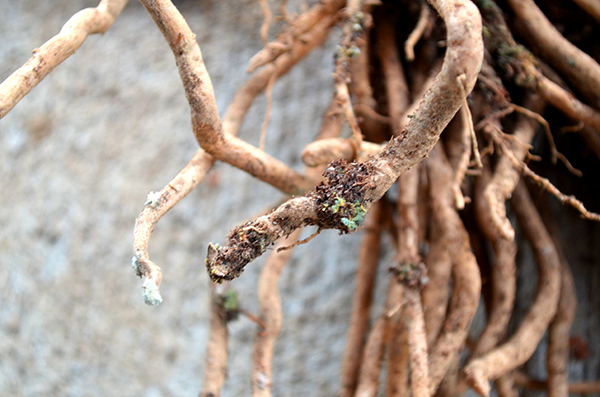
Asparagus crown
All-male asparagus varieties have been cultivated to maximize production by only producing fruit, and not producing seeds. Jersey Giant, Jersey Supreme and Jersey Knight are a few of the most popular all-male varieties. They can produce up to three times more asparagus that mixed male/female varieties.
The drawback to all-male varieties is that you won’t have the opportunity to produce more plants over time. I love swapping plants with friends, so I choose a variety that produces both male and female plants. I love creating gardens that incorporate memories from my grandmother’s irises, my Dad’s columbines, and my sister’s nasturtiums. In a couple years I will get to swap some asparagus plants to return these pretty favors.
I chose an older variety called Mary Washington, which produces large, thick, dark green shoots. This has been the most popular variety over the past century and I have a soft spot for those old tried and true vegetables, even if that means it’s not as productive as the newer ones. It has a 60 day cutting season, which should give us our fill of this sweet, crisp vegetable plus some for the freezer (after a quick blanching).
Planting Crowns
You can begin planting asparagus crowns as soon as the soil is workable without forming thick clods and average temperatures are around 50 degrees, which in Portland is now. I selected five crowns from my local nursery that were large and thick. I have the perfect spot in the garden that receives full sun and is slightly raised, so it will provide good drainage.
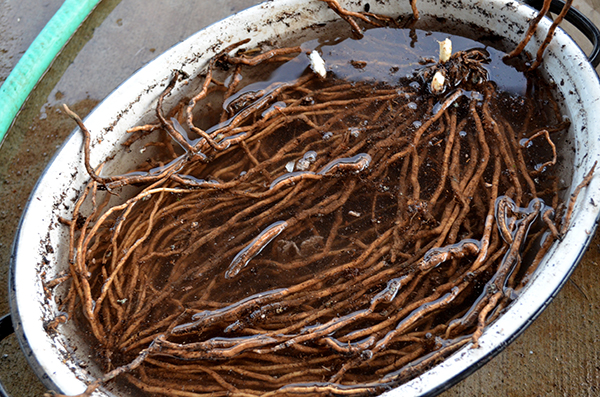
Soaking asparagus crowns prior to planting
Soak your asparagus crowns for about 30 minutes prior to planting. This is their big opportunity to store up water before transplanting.

Trench dug 8″ deep for planting
I began by shoveling out an 6-12″ deep trench that was about 12″ wide and 5′ long (for five plants). It was a bit awkward with my growing belly, but I managed.
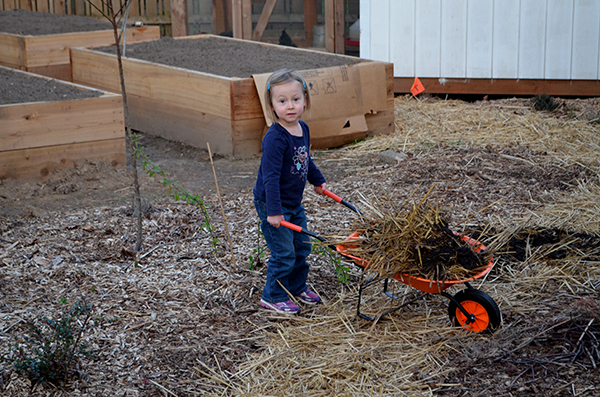
My asparagus planting helper
Next, my garden helper filled up her wheel barrow with compost. We dumped it into the newly dug trench and mixed the compost in with the soil we had removed. That helps the roots have some yummy soil to grow down into. It also breaks up the soil so the roots can get established a bit easier.
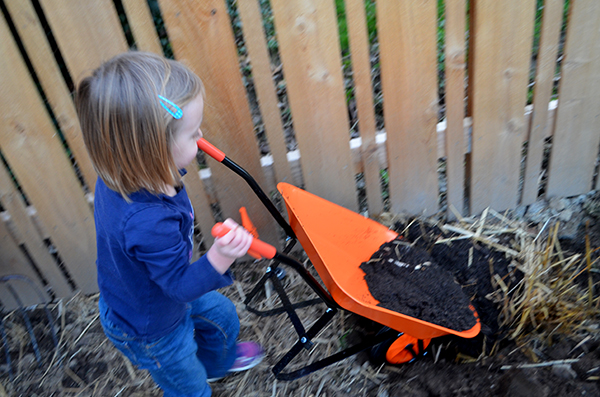
Garden helper pouring compost
I placed each crown about 12″ apart, spreading the roots out so they could expand in all directions. Avoid letting the roots from neighboring plants touch each other, which can encourage mold. Then cover the plants with soil so they sit about 2″ below soil level.
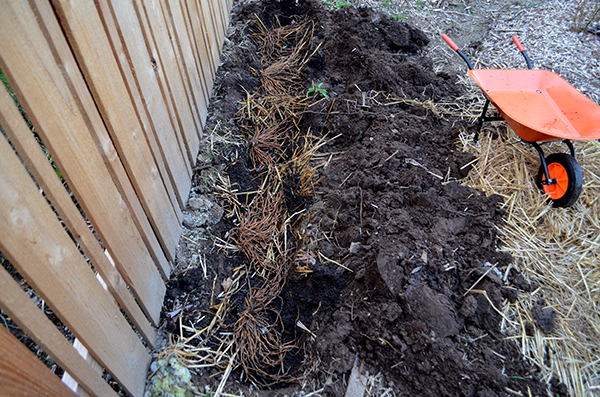
Asparagus crowns 12″ apart over compost/soil mixed beds
Although it’s winter, you still need to water your bed well after planting. You don’t want those delicate roots to get dry as they settle into their new home.
Care
Asparagus will become fairly drought-tolerant over time, but they need to be well-watered for the first couple years until established. We will also be watching the bed carefully for weeds. You don’t want the new plants to have to compete with other plants as they mature. You can mulch the asparagus bed to help with both water retention and weed suppression, but be careful that what you use for mulch doesn’t have seeds in it (as can be the case with straw).
Apply some compost to the top of the bed at the end of spring, as the summer heats up. In the fall, cut back the yellow foliage to reduce disease.
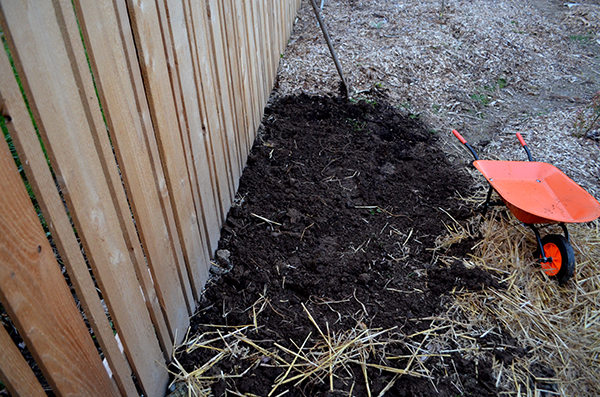
Newly planted asparagus bed with soil covering just the top 2″ of our crowns
Be Patient
Do not harvest any asparagus for the first year. The plant should be allowed to get tall and leafy. Those delicate leaves capture energy that then goes down into the crowns. This is crucial for the plant’s robust development over time. You can start harvesting when the plants are three years old.
We planted two-year old crowns, which means technically we could start harvesting our asparagus next year. Don’t use a knife to cut them – instead snap them off by hand near the base where the naturally want to break off. As we did growing up, we will harvest for a couple weeks and then allow 2-3 shoots per plant to grow up and produce leaves. Those leaves will give the crowns an energy boost, allowing us to continue harvesting new shoots for another couple months.


 This cluster was about the siz


 I start with a


How did it go for you. I notice some blue mold/fungus on your roots, 2nd photo. Did the Asparagus do well anyway? Mine also have it.
Hi Dennis! What a trip down memory lane looking at that blog post. The small kid in those pictures is now a tween! The asparagus did GREAT! It’s so productive, not to mention a beautiful plant. Any mold on the plant was superficial and easy to wipe off.