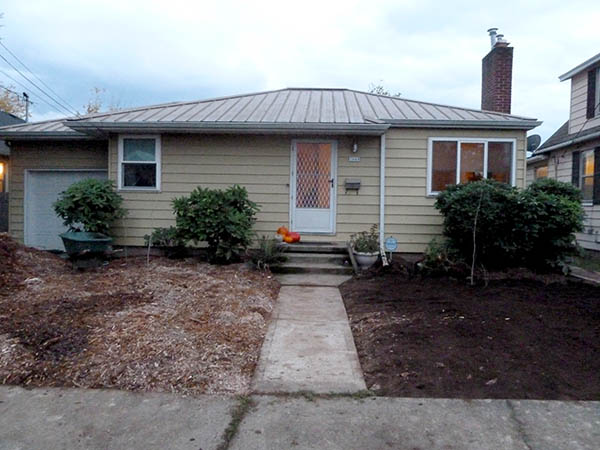
Front yard: before
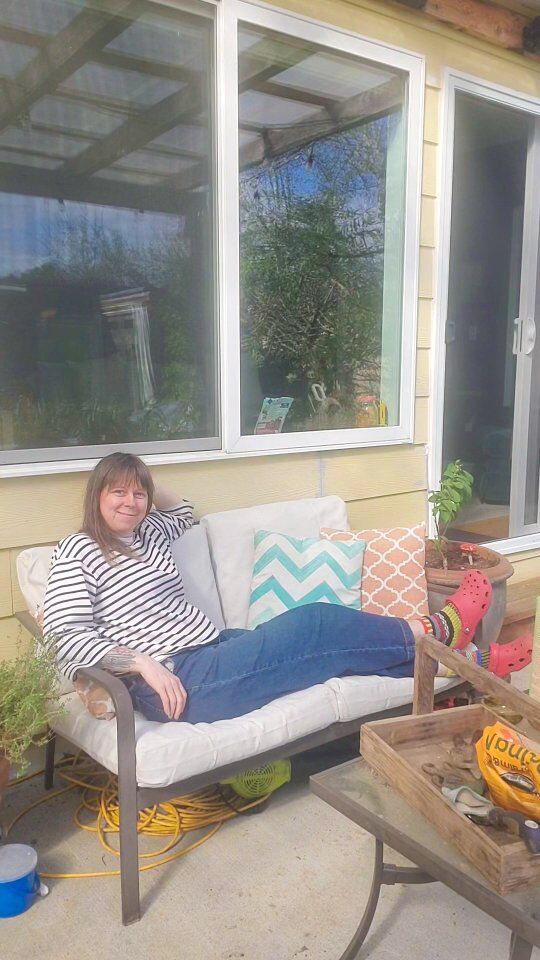
I’m a big fan of taking pictures through all stages of your homestead’s growth. So this is your gratuitous shot of Juniper on our front porch, marking the moment in time when we broke ground.

Juniper the garden helper
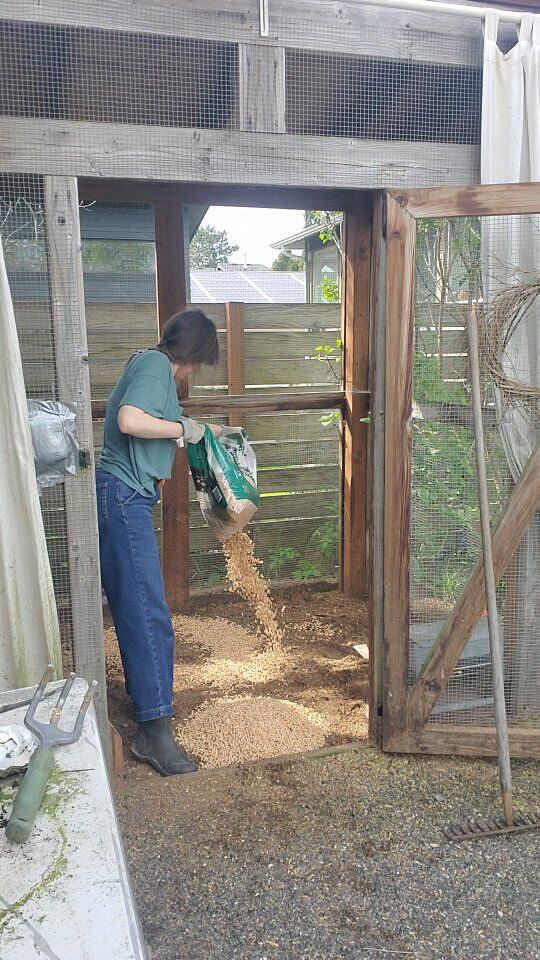
I’ll discuss the various methods for removing sod in a post next week, but in this case we chose to remove it with a mechanical sod cutter due to time constraints and the immediate desire to plant the area. (After eight years of growing our former homestead, I’m ready for our new homestead to arrive pronto!) I rented a sod cutter from a local shop and, with the help of my dad, began removing the grass strip by strip.

Front yard: sod removed (mostly)
It was my first time using a sod cutter and I did a pretty crappy job, if I do say so myself. It was pouring rain and we have heavy clay soil, which made the whole process a slippery mess. There were lots of thin strips that I missed and in some areas I didn’t cut deeply enough. We spent the better part of a weekend trimming all those areas.

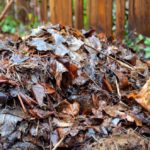
Backyard: sod removed and pile o-sod
We made a massive pile of the cut sod! Thank goodness it’s in the backyard so the neighbors can’t see it… Some of it we will compost and some we will mound up for a play area. I hate to get rid of any of it since there is a lot of valuable topsoil attached to the rots.

Renee leveling soil and spreading manure
With sod removed, it was time to deal with what lays underneath: compacted, heavy clay soil. To help with both nutrient levels and soil structure, I called in the big guns. And by big guns, I mean manure.

Front yard: manure laid evenly
We brought in composted cow manure from Mt Scott Fuel, and the word “composted” is key. Composted, or aged, manure can safely go over your plants without burning them and it’s a lot less stinky than the fresh stuff – a nice bonus for the neighbors. I added enough for all plant beds to have about an inch-thick layer on top of the bare soil. Top dressing the plant areas with manure will provide high nitrogen levels to the soon-to-arrive plants.
Front yard: right side prepped with manure and left side prepped with manure + wood chips
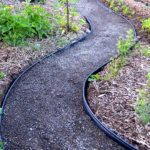
The final step in soil preparation was adding a thick blanket of wood chips over the entire area, which I received from a local arborist for free using ChipDrop. Wood chips are high in carbon, making them slow to break down, and a thick top layer of this mulch will help with weed suppression and water retention. In a couple years, the wood chips and manure will compost further to increase the soil structure of our heavy clay.

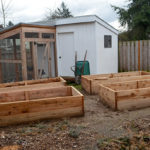
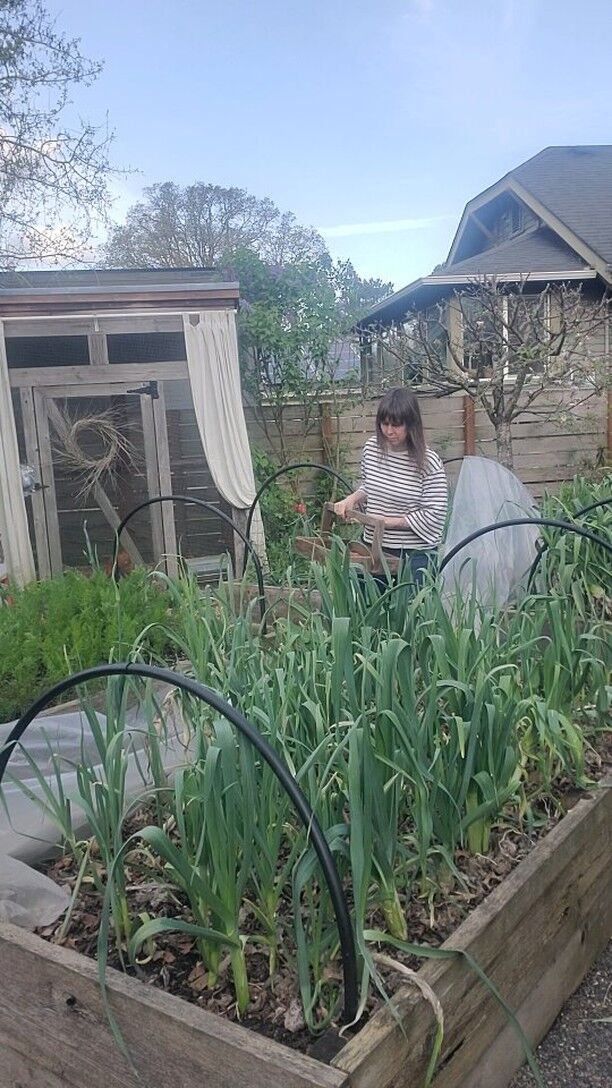
Front yard: after soil prep and ready for planting
Many wheelbarrow loads later, we are ready for plant installation – my favorite phase of the construction process! Stay tuned for details on that final part of this series.

 I start with a
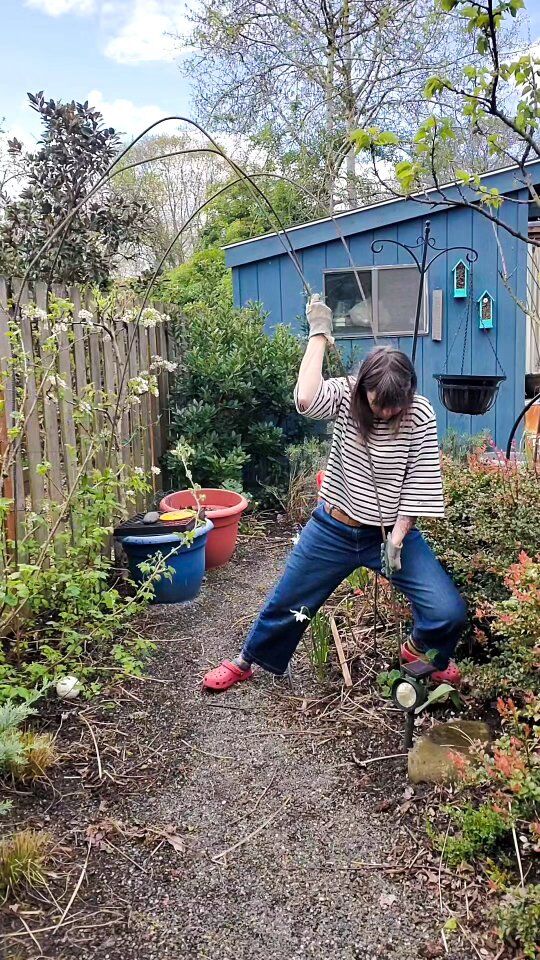

 There's a go