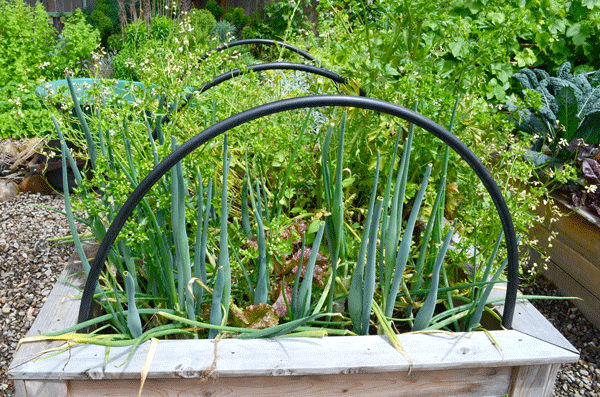
Late spring garden bed with mature onions, bolted celery and bolted arugula
First, dig a hole larger than the tomato you are planting. This will loosen up the soil around the root area, making it just a little easier for your tomato plant to get established. If you have some finished compost laying around, go ahead and stir some in.
Dig a hole larger than the root area of your tomatoes
Next, soften the root ball just a bit. You don’t want to to hack at the roots, but just loosen them up a bit so they are free to start growing around – not around in circles.
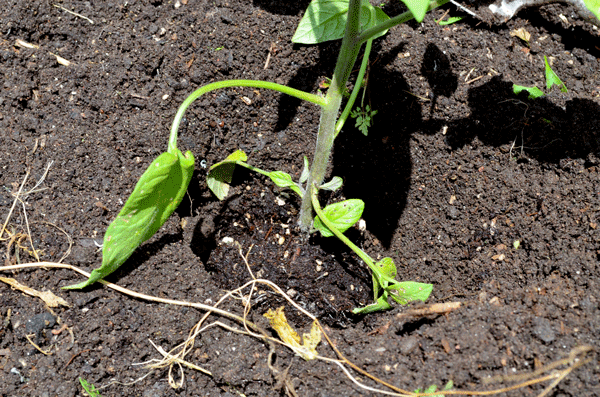
As you plant the tomato, bury it a bit. All those little “hairs” along the main stem will turn into roots if you put soil around it. More roots means a more vigorous, healthier plant as those tendrils branch out into the soil to eagerly gather up nutrients. I leave about 4″ of the actual plant above soil, so that can mean over half is actually buried in the soil.
Tiny hairs on the tomato stems can turn into more roots if you bury them when planting
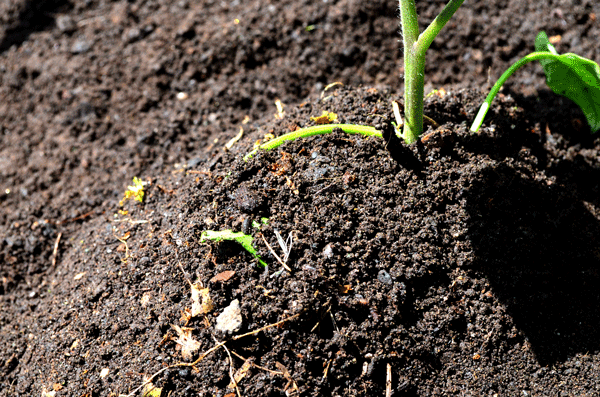
Finally, mound that soil up around the tomato and create a nice moat around each mound. When you water, it will collect around the base of the plant so the tomatoes get a nice, long drink.
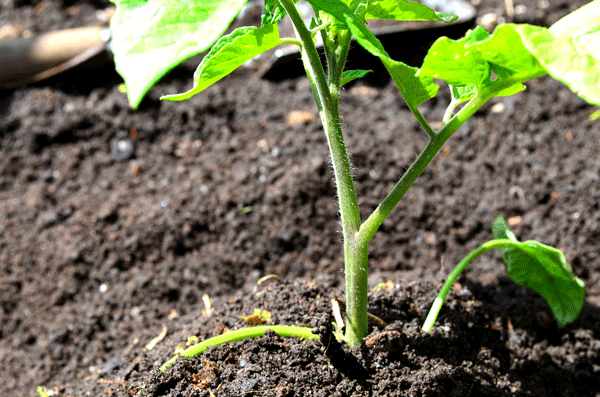
Bury your tomato starts to encourage more root development. Healthy growth and fruit will follow.
When the weather is in the 80’s with no rain, I water my tomatoes well every other day. Blossom end rot is a common problem with tomato growers, which results from inconsistent watering. That could mean you are over watering or just watering them unevenly – like no water for too long, then a short watering, then a long stretch with no water, then too much water. Most of the time, in my experience, people are simply over watering.
I always grow lots of heirlooms, which generally take longer to ripen than hybrids. So last year I swore I would plant just one Early Girl so I could enjoy that tomato goodness before the end of summer. Did I stick to my plan? Nope! I just couldn’t bear to make room for a hybrid when I could have another heirloom.
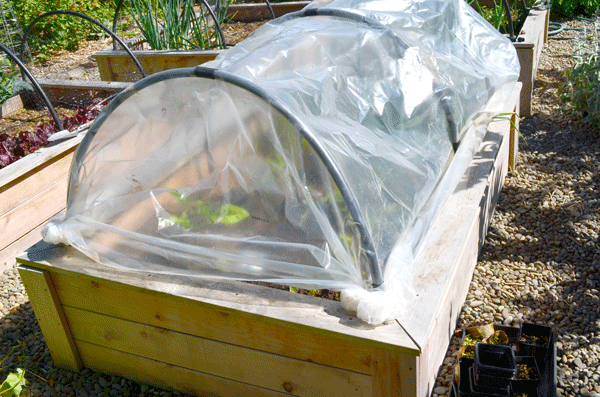
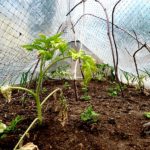
Tomatoes planted in raised beds and covered with greenhouse plastic
This year I experimenting by placing greenhouse plastic over one bed of tomatoes. My goal is to keep them really warm and well watering, hoping that they will grow faster and set flowers sooner. Varieties for the garden this year include:
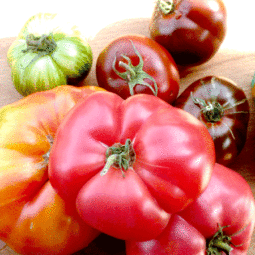
- San Marzano – the best sauce tomato
- Kumquat Cherry – new variety for me this year, gorgeous dark leaves
- Brandywine – sweet red slicer
- Cherokee Purple – purple, rich and intense flavored slicer
- Pineapple – huge yellow and orange slicer, best tomato for a thick burger
- Black Krim – intense black slicer
- Giant Oxheart – lovely pink heart-shaped fruit, good sauce or slicer
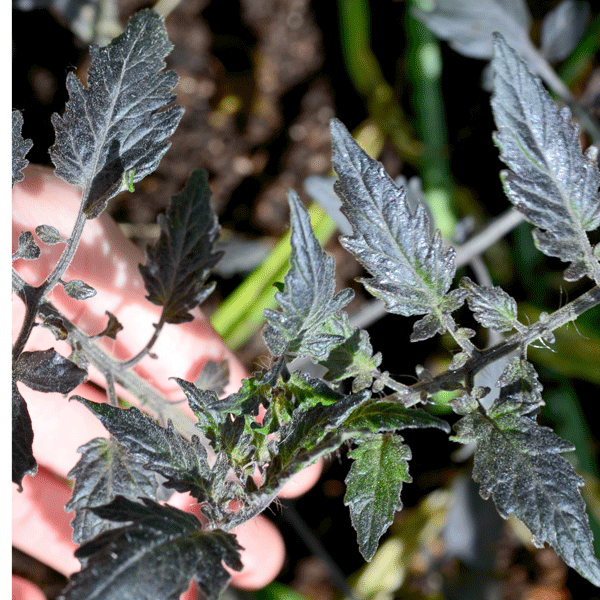
New variety for my ’13 garden: Kumquat Cherry tomato
Is my planting advice too late? Are your tomatoes already in the ground? Tell me which varieties you are growing this year!


 This cluster was about the siz


 I start with a


Blossom end rot can also come from calcium deficiency (that was the reasoning I found when it hit me several years ago). Granted, that’s more of a problem with container gardening than in-ground. For that one, add bone meal or egg shells.
Oh, and I’ve got Brandywine Pink, Big Rainbow, Black Krim, and Burpee Supersteak seedlings going on. They’re in little 4″ pots right now, waiting for the raised beds to be built. I attempted to give up and put my squash seedling straight in the ground, but if the clay is that hard on me, I can’t imagine the roots handling it well.
yes mine are in the ground and I have many, black cherry, a purple one I’m not sure the name, early girl, boy I can’t remember them all but I’m looking forward to eating them all.