To begin, here are the supplies you will need:
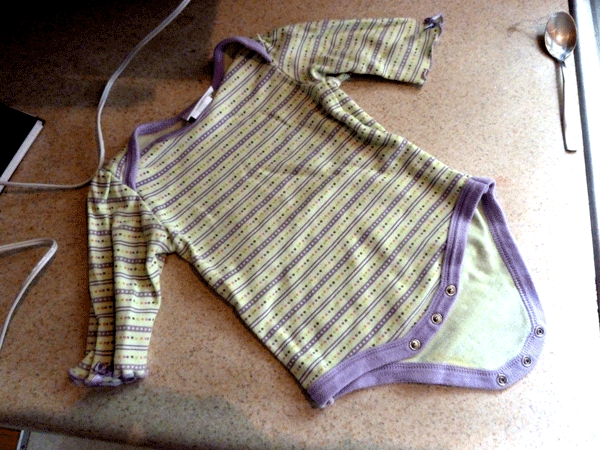
One long-sleeved onesie that currently fits your little baby chick. I opted not for one with legs. Instead my girl is wearing tights under her feathered onesie. Yellow tights would be ideal so it matches. It probably goes without saying, but this is a onesie your little one will never wear again sans feathers
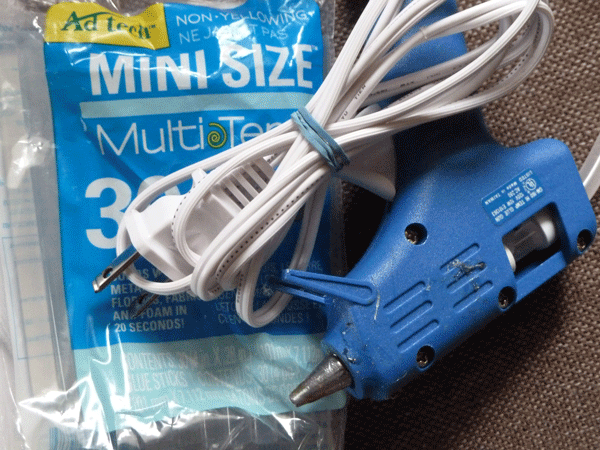
 Hot glue gun and lots of glue sticks. I stopped keeping track, but it was almost a whole package.
 Two googly eye balls. I ended up using the larger ones.
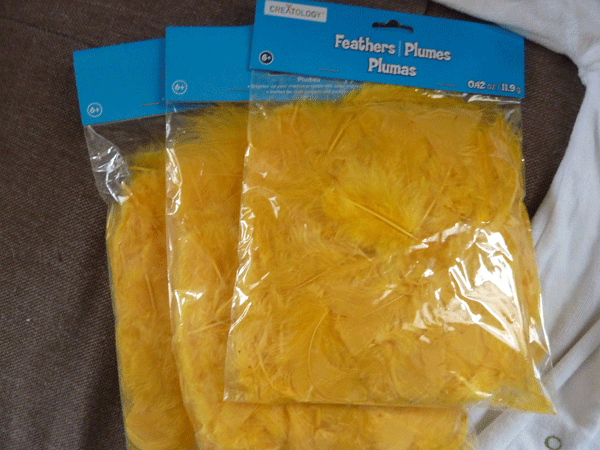
 Packs of yellow feathers. I used three packs for a nine month onesie. If you can find yellow boas, go that route. I couldn’t, so I had to buy the individual feathers. They were cheap though – I think $2 bucks a pack. I (embarrassingly) had a feather-color-consultation with some friends and we decided yellow looked most “chick-like”.
 An orange drink cozy thing. They actually sold these in the same aisle as the feathers at my local craft store for a buck a piece. I would recommend buying two.
 Other supplies include a snug fitting cloth baby hat and a pair of socks or leggings you don’t want to use anymore. We’ll get to those later, but for now let’s work on getting the chick body feathered.
Heat up that hot glue gun and start gluing some feathers! Start at the bottom, working your way up.
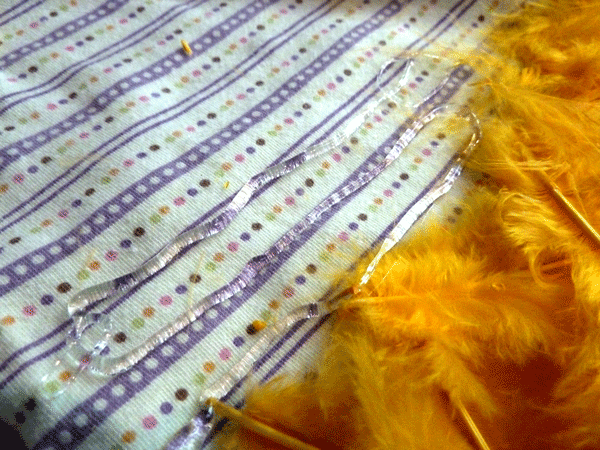 Glue a little section at a time, then press feathers into place.
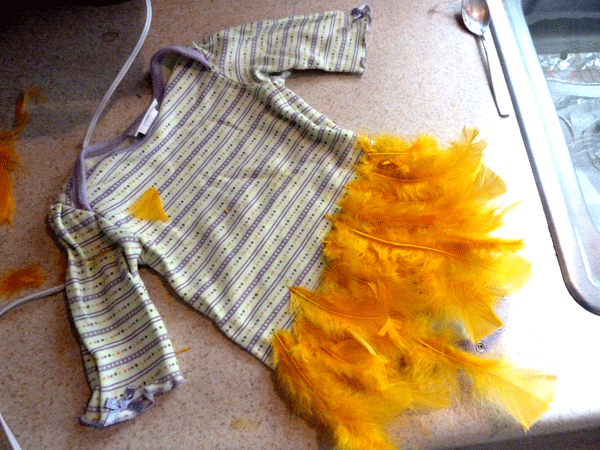 Press a small area at a time into a fan-like formation – some pointing down and others to either side. That way the costume will look nice and messy/fluffy. If you press them all down, they lay too flat.
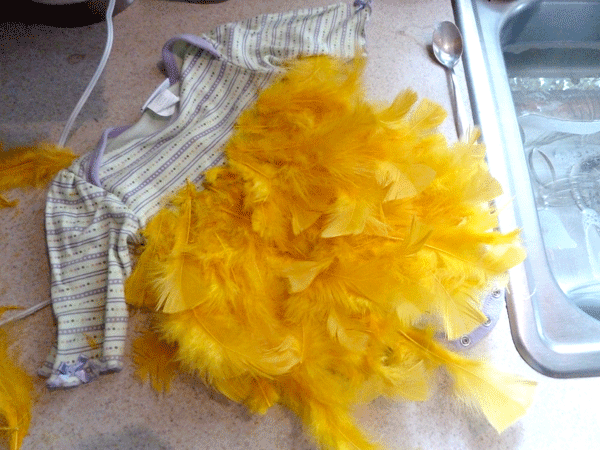 When I was done gluing one side full of feathers, I took a step back to look at areas that were too flat or had gaps. I filled in those gaps by gluing feathers down pointing up toward the top of the outfit. That helped to fluff everything up even more.
 Once the front is fully covered, turn over and work on gluing feathers onto the back of the onesie. I used one pack of feathers for the front and one for the back. The third pack covered the sleeves and gaps.
 When the back of the chick costume is finished, it’s time to work on the sleeves. At this point, cut your feathers in half (if you are using loose feathers). They will otherwise be too long on the sleeves. And since the bulk of your feathering is done, you can use just half-sized feathers to fill in gaps from here on out.
 Again, work your way from bottom to top starting at the edge of the sleeve going up toward the shoulder.
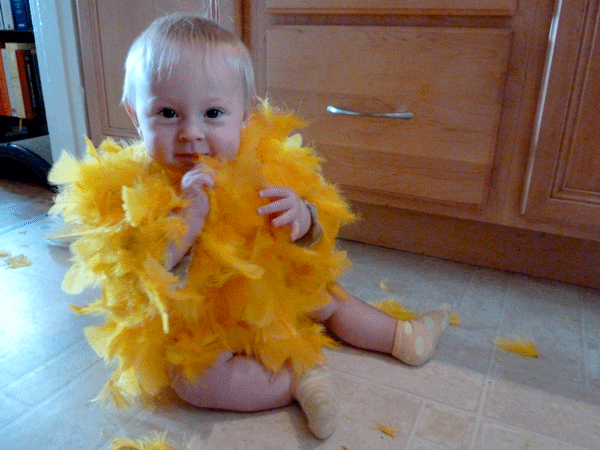
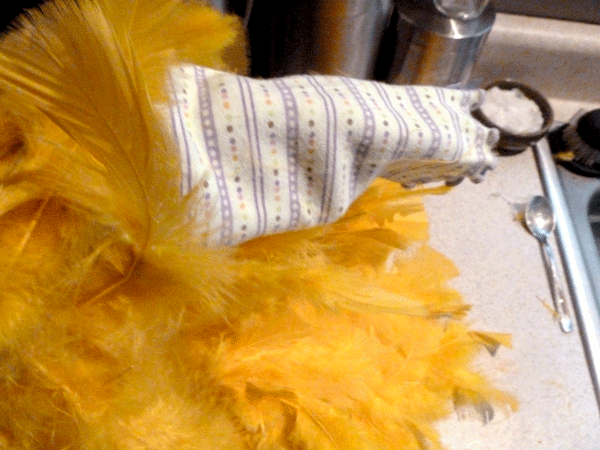 Now your onesie is covered in feathers and it’s time for a dress rehearsal to see how it looks on your little chick. You will lose a few feathers as the fabric stretches over your baby, but hopefully you have it fluffy enough to not notice too much.
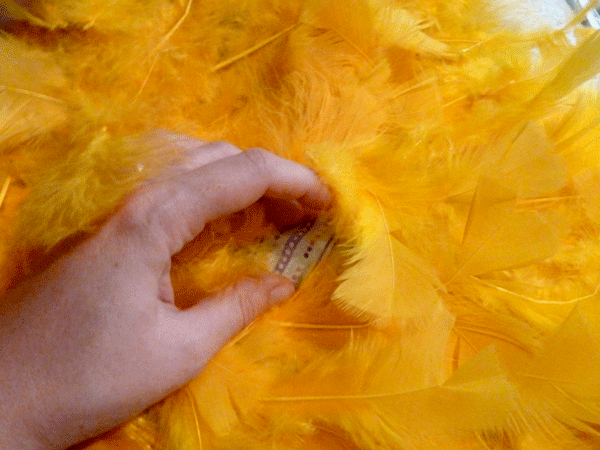
 I used blue painting tape to mark areas I missed on the onesie. The blue really made it easy to spot these gaps when I took the onesie off. I used the half-sized feathers to fill these areas in.
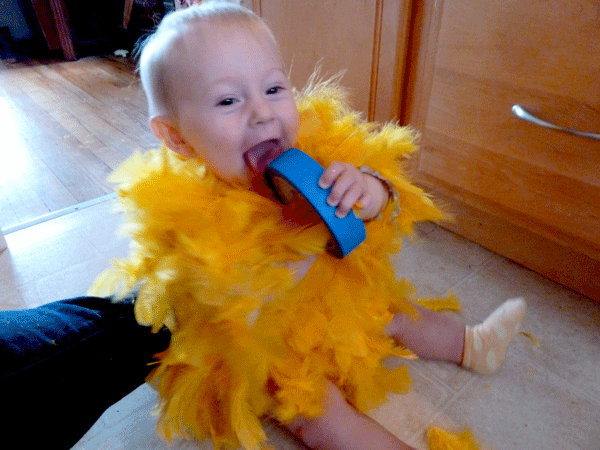 Next, remove the onesie and fill in any of those areas you missed that are marked with blue tape.
 When the onesie is sufficiently feathered, it’s time to move onto the chick head. Grab the orange cozy and cut in half vertically, including the bottom. You are left with two halves of the cozy, each with a half circle bottom. Hot glue that half bottom onto the front of the hat. This will become the bird beak. It should now stick out. Cut the brim to a half moon shape, so it looks beak-like.
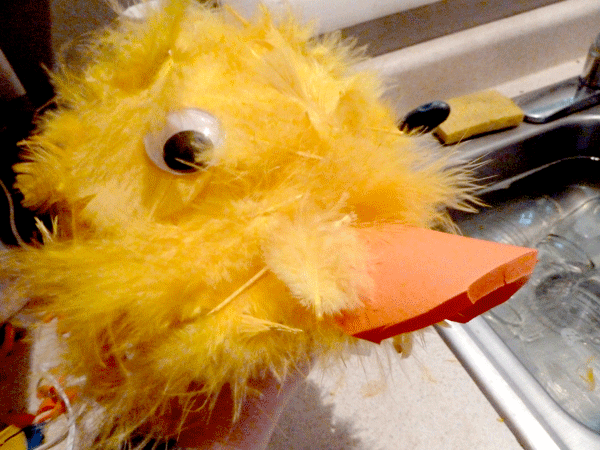
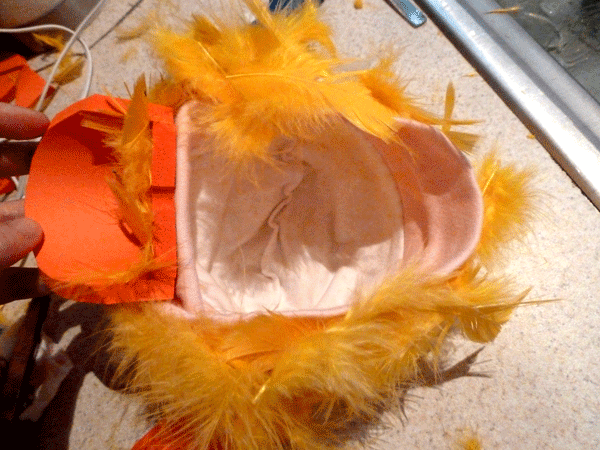 Start feathering the cap around the beak. Again, start at the bottom brim of the hat and work your way up. Once covered with feathers, attach googly eyes to either side of the hat with the hot glue gun.
 With the hat and body done, it’s time to work on your chick feet. I only had one orange cozy, so I used that leftover half for both feet. I cut off the bottom, then cut the cozy side into another half. So I was left with two square, curved pieces. I cut what looked like a bird foot type shape to me.
I think it would look better if you made them bigger, so that’s why I recommend you have two cozies. One half would make one good bird foot.
Hold the pieces up on your baby’s feet to determine the placement. They still need to be able to walk, so I decided to place them right above her ankle.
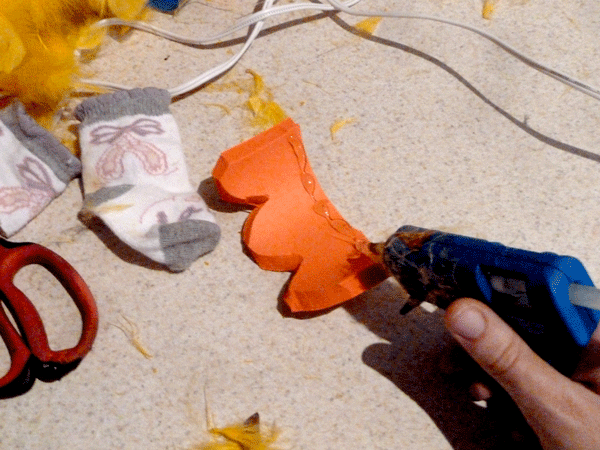 You can glue these onto leggings if you want, but I glued them onto baby socks we no longer need. I am cheap and didn’t want to throw away a whole set of leggings… The socks are white, so I’m hoping they will blend in with her white leggings. If you are using yellow leggings, try to use yellow socks for the feet.
Press the orange feet into place on the socks or foot of the legging firmly. They will puff back up into their curved shape.
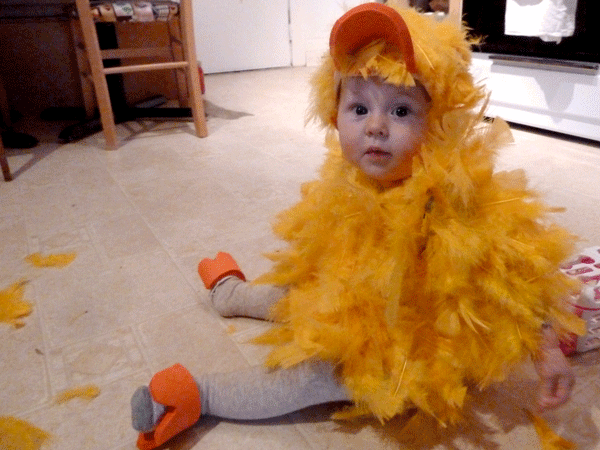
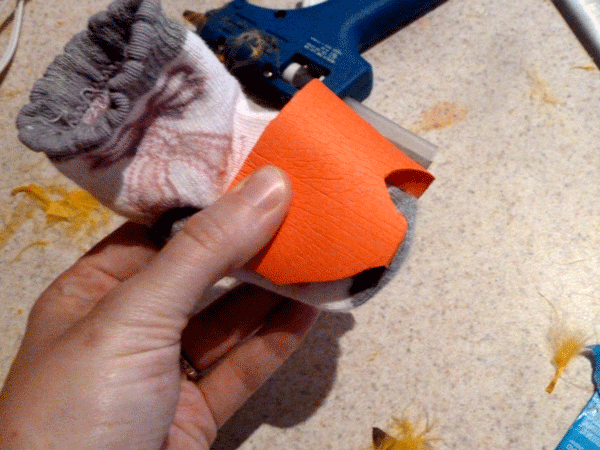 You should end up with two very cute, very orange chick feet.
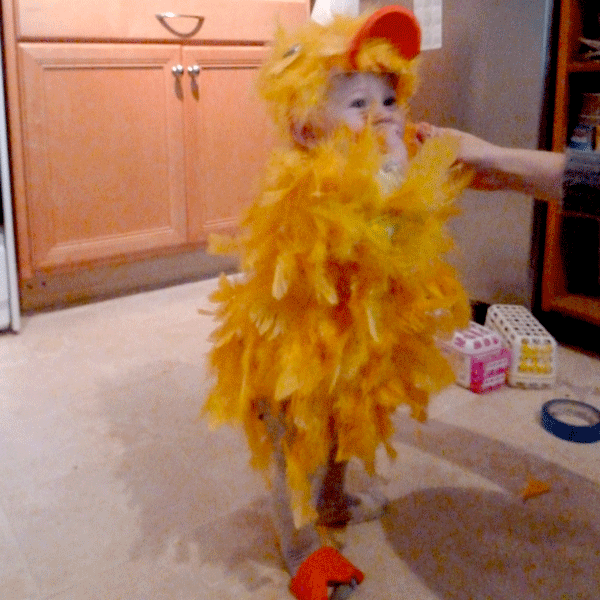
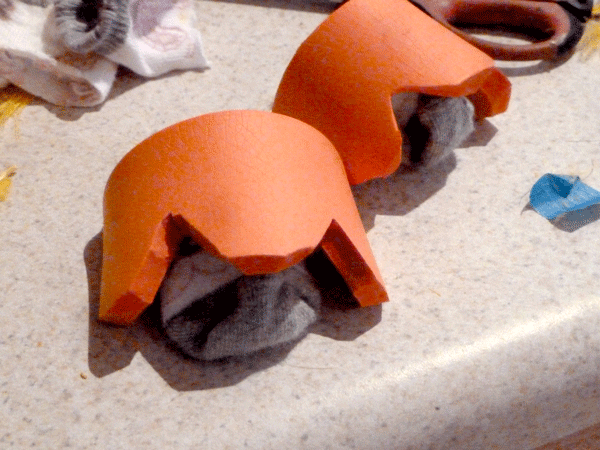 At this point you should be all done! Expect to lose a few feathers when your little chick puts the costume on, but you should have things pretty darn fluffy, so it will be hard to notice any open areas.
I was putting this together while Juniper was rolling around on the floor playing, so I would guess the whole process would only take a couple hours if you were focusing on it.
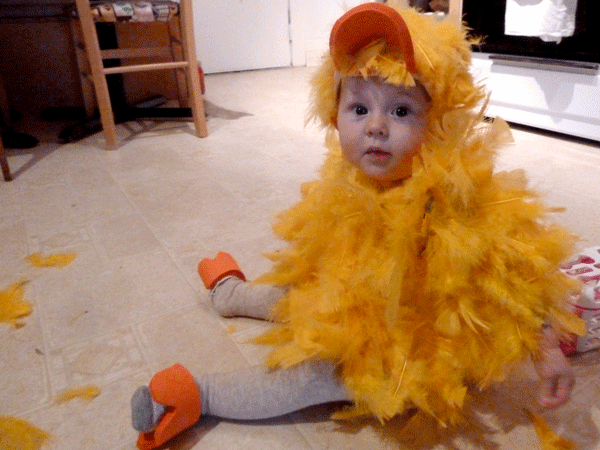 I think the effort was totally worth it and the supplies were less than $10 bucks. I can’t wait to see her flap her little chick wings come Halloween. I would love to hear what you think and what your little ones are dressing up as for the coming holiday!


 This cluster was about the siz


 I start with a


This is adorable. Love the handiness of you and the cuteness of Juniper.
Adorable!
SO CUTE!!!!
Yours looked better than the etsy one. Captured the charm of quirky baby chick. Going to make for grandson who is nicknamed ‘Pollito’ Spanish for little chick.